Page 9
Work Completed

- Starting with a square stick, I marked the taper on 2 sides, then cut close to that line with a circular saw. Unless you have a large saw, you will need to cut in from both sides and meet in the middle. Try to be precise!
- If necessary, plane the cut sides to give a reasonably flat surface for the next cuts.
- Mark and cut the tapers for the uncut sides. Again, plane the cuts if necessary.
- Now mark all 4 sides for an angle cut to make an octagon shaped mast. The exact amount to inset the line depends on the size of the mast blank. I found it necessary to draw a full sized square (the mast blank) around a circle (the final mast size), and draw in the 45 degree angle cuts. I could then take the measurements directly from the drawing and apply them to the mast blank. Don't forget that the line will curve with he taper! You r batten from marking the sides will come in handy here. Adjust your saw to make a 45-degree cut and have at it.
- Note- I left the bottom of the main mast square, but I did taper it on 4 sides from about 6-inchs above the cabin top down. It just seemed that a square hole wanted a square peg - seems to be working just fine.
- Now you should have a roughly octagonal shaped mast. Straddle the mast and work it round with a block plane a section at a time. I just eye-balled it, but you could make up a template to check your work as you proceed. I found it best to work an 18-inch section at a time, getting it rounded on all sides before sliding down to the next section. Note - I tried using a power planer, but it was too aggressive for this work - after making a few gouges I just went with a block plane. With a sharp plane, it really was not too much work and provided greatly superior control.
- By now it should be looking pretty good. At this point I filled in any holes, cracks, gouges, etc with epoxy and let it cure. I also added a filler strip of wood on the sides of the mast to fit the mast opening in the top to eliminate the need for wedges.
- Put a 60 grit pad in your orbital sander and blend in the flat spots the plane left and any standing epoxy globs. You are making the final shaping here, so take your time. If you planed well, it will not take too long.
- If you are going to finish the mast bright, follow your normal sanding schedule after you are done with the 60 grit. I went to 100 and 150 grit in the orbital sander, then 4 coats of spar urethane varnish.


Also cut and glued the mast slot cap - the drawing was not clear on this, but I made the top from 1/2-inch ply to extend to the outer edges of the mast slot trim. I them glued 4 pieces of douglas fir on to the top to snuggly fit inside the mast slot.
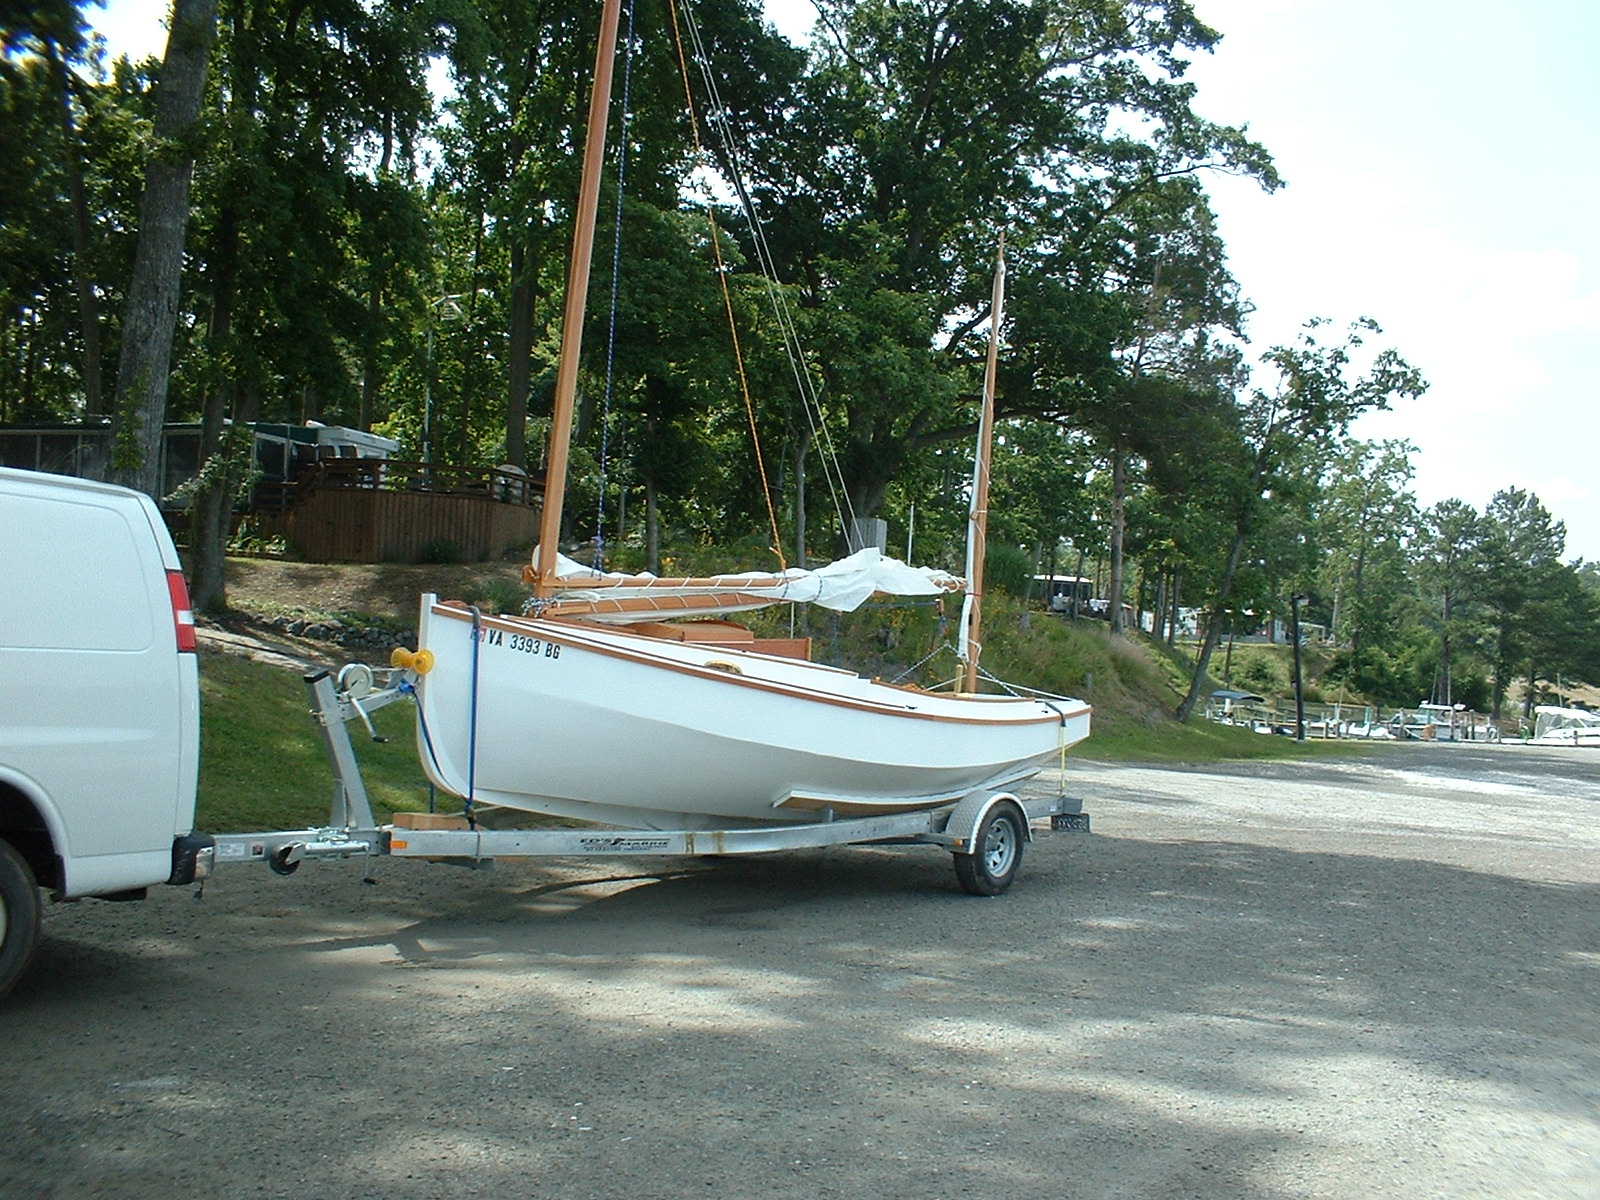
Assembled cradle (two 2x6x8 S.T. beams and 1/2" ply base - sized to ride on top of strong back) and gallows (4x4x10 uprights and a 2x6x10 cross beam; uprights sunk 30-inches into the earth) to shift boat from strong back to trailer.
Once the boat was rotated, the gallows was erected and the aft end lifted with the jack. Straps under the boat were used to suspend the aft end of the hull from the gallows and the trailer winch used to pull the boat forward. The process was repeated several times and before we knew it the boat was secure on the bunks. There was only one point of heightened concern during the whole process - as the boat is pulled forward the straps relax and the cradle rubs laterally across the strong back; apparently the pressure was too much for one of the strong back beams as it split and dropped aft end of the keel on the ground. The boat survived its first stress test, as did the builder. This problem could have been avoided by taking the time to reinforce the strong back with cross members, or by jacking and strapping more frequently to release some of the pressure on the beam.
A note on the paint job - you might think that all that scraping and other abuse would have left the bottom paint a real mess - I was certainly expecting that to be the case! However, after getting it on the trailer and inspecting the damage I was pleasantly surprised to find that the paint did not wear through at any point! To be sure there are some new surface scratches that I'll sand out and repaint eventually, but nothing that needs immediate attention. I am quite pleased with the paint!
After getting the boat on the trailer, the whole thing was jacked up so I could install the center board. It took some time to get the boat up high enough to get the board in, but no unusual problems were encountered until testing the raising rope. The rope mounting point on the center board was too far forward, resulting in the need for undue effort to raise the board; additionally, because the rope was several inches forward of the CB case opening it allowed the CB to drop down out of the slot. This will need to be fixed :(.


Also installed the mast step after cutting it square to match the squared end of my mast. Installed rudder and tiller. The photo is a detail of some fancywork I added to the tiller handle.
Installed port hole plastic and brass trim ring. Installed the main hatch and the two aft hatches. Finally, glued in te cross member of the Jonesport cleat - this may be the last batch of epoxy needed - yeah!


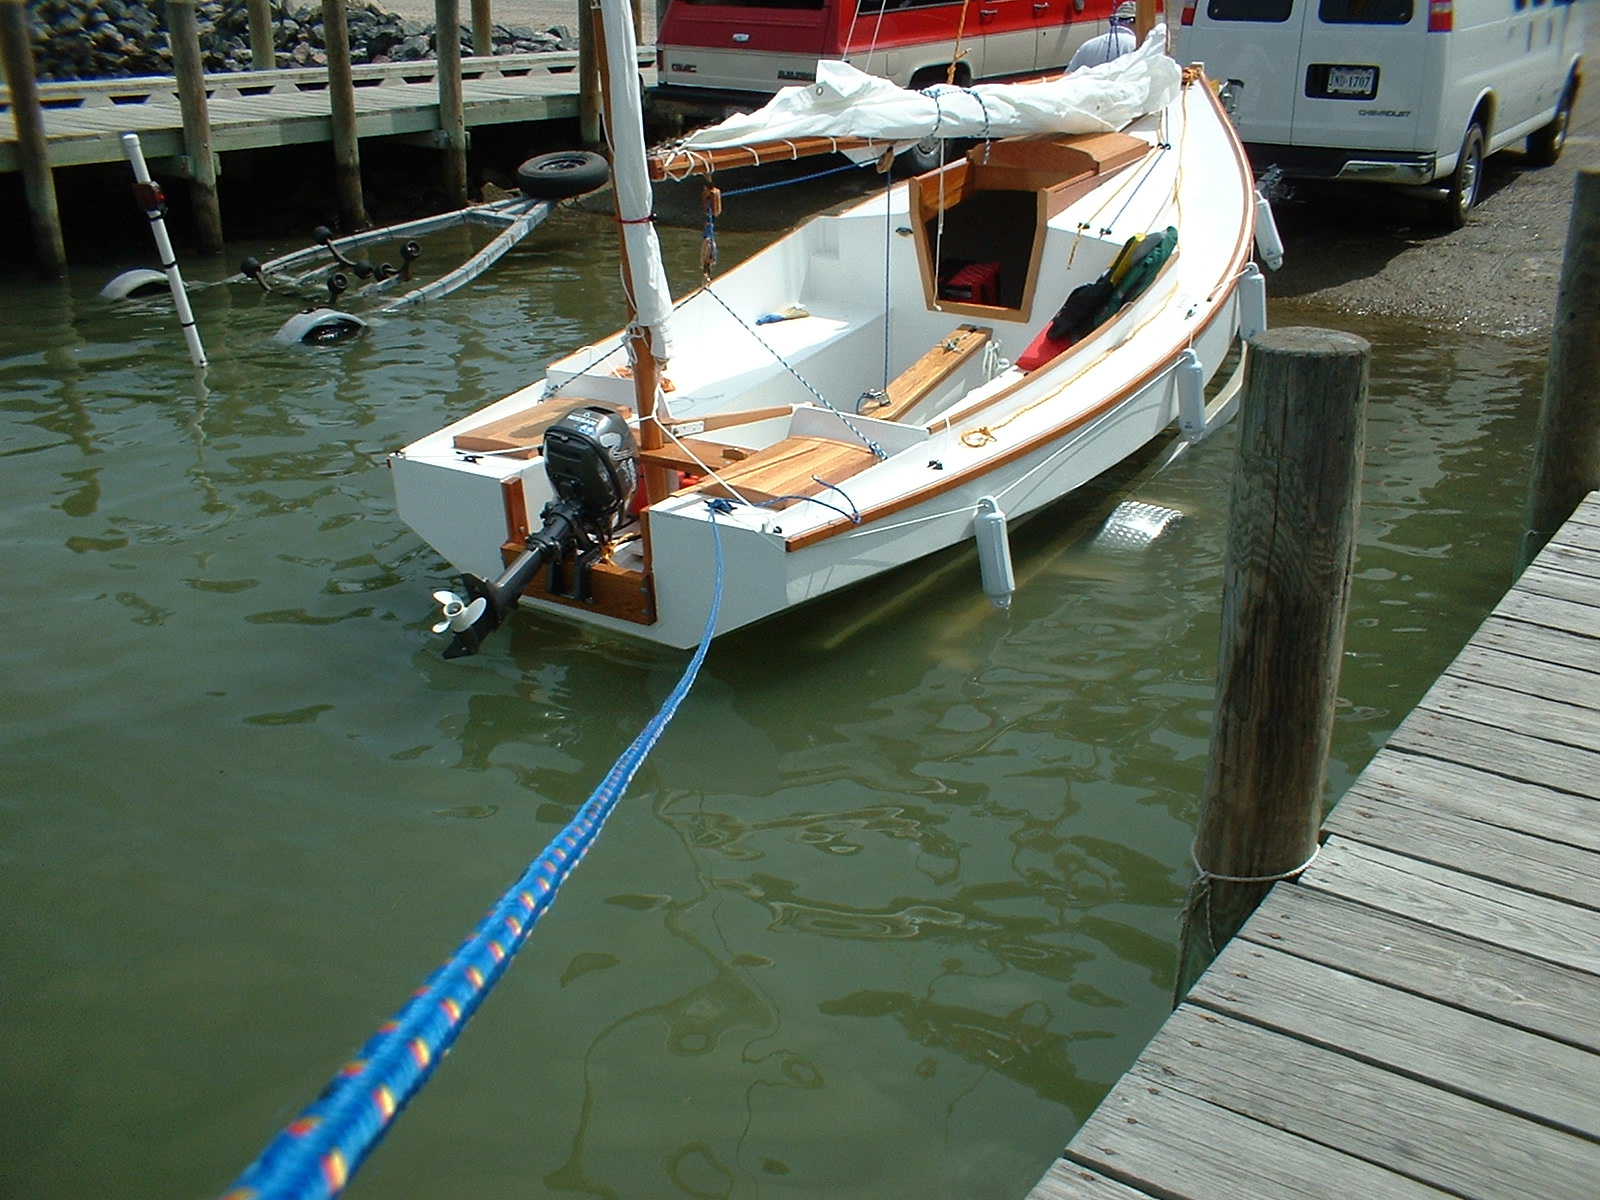
Also added four 5-inch cleats, adjusted the mast slot cover for a looser fit (still tight, but loose enough to be installed and removed without excess strain).