| |
Chebacco Construction
Inexperienced boat builders should look for the to get tips on how to avoid
mistakes you will kick yourself over later!
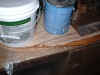
I decided to make the Centerboard Case first as I wanted
to start slowly to get back into the building groove, plus the slot in
frame 4 could be cut to fit if I had an assembled CB case. It seemed to me
that to make sure the CB case was right, I had to first make the CB. The
other pieces that were cut early on were on the same pieces of ply. Next
came the frames and associated boards. Then build the strongback while
gluing up the sides and bottom, then throw it all together. Simple,
eh?
|
|
|
| Date |
Work Completed |
Time Estimate |
Photos |
| 8/23/03 |
Layout & Cut: Centerboard (3 pieces), Centerboard Case ply, Aft
sides, Rough Cut Bulkhead #1
|
6 hours |
|
| 8/24/03 |
Layout and Cut: Transom, Transom Framing, Frame #5, Bottom Fwd, Centerboard
Framing.
Bevel
the Transom Framing BEFORE cutting it to length; otherwise some of the pieces
will be too short when assembled. This is obvious if you think about it, but who
is thinking when it is 98F and you are covered in sweat and sawdust?
Shaped the outer layers of the Centerboard using a power planer and belt
sander. This is probably one piece that really needs marine ply - shaping the
edge would be difficult if any major voids existed in the ply.
|
6 hours |
 |
| 8/25/03 |
Laminated one side of the Centerboard. The pieces had taken on a curve that I
could not get out in one step with my "gluing press"
|
45 min |
 |
| 8/26/03 |
Laminated second side of the Centerboard
|
45 min |
|
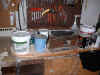
| 8/29/03 |
Glass inside of Centerboard Case |
1 hour |
|
| 8/30/03 |
Applied 2nd coat of epoxy to inside of Centerboard case; attached CB
case framing to one side of case.
Shaped CB assembly. Beveled Transom Framing; recut framing as !@#$
needed (See Alert above!). Cut vent and drainage holes in Frame #5, Cut Frame 5 floor board. |
5 hours |
|
| 8/31/03 |
Applied final coat of epoxy to inside of CB case and completed assembly.
Glued up transom and framing, and frame 5 and floor board |
4 hours |
|
| 9/1/03 |
Cut out Molds 2 & 3 and Frame 4. Finished cutting Frame 1. Sanded
glue joints on transom and frame 5 floor |
4 hours |
|
| 9/2 - 9/5/03 |
Glassed outside of Frame 4. Applied 3 coats of epoxy without glass to
inside of transom, fwd side of Frame 5, and 2 coats on fwd side of Frame
1. |
4 hours |
|
| 9/6/03 |
Cut Frame 6 and bottom pieces. Cut and attached 4" floor boards to
the bottom of Frame 4. |
5 hours |
|
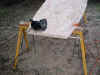
| 9/7/03 |
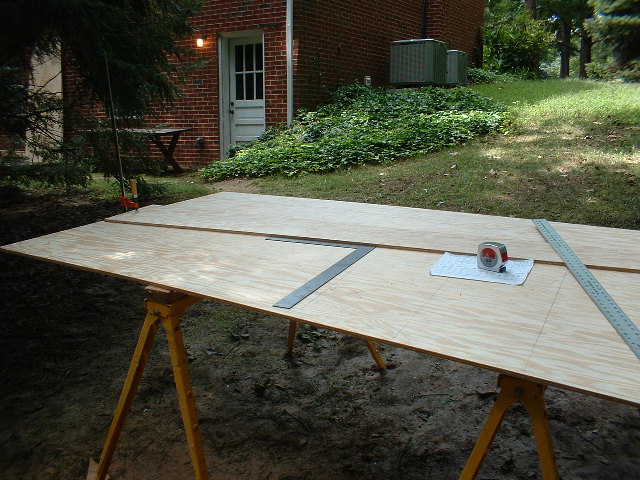
Cut sides. This was a little tricky as I wanted to conserve the use of
ply. The middle sides were no problem to use the edge of the plywood as
the baseline, but the fwd sides have a fair curve in them and would take
up too much ply if the edge were used as a baseline. Fortunately, the fwd
sides finish out at 7'6", so the baseline can be canted. Use a piece
of left over ply as the baseline, as shown to the right. You will need to
play with it a little to get it to fit right, but it does preserve most of
the remaining sheet. I marked both the middle and fwd sides before cutting
to make sure it all fit as expected. When I got tired of cutting
ply, I applied epoxy to frames cut earlier. |
5 hours |


|
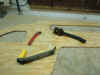
| 9/8/03 |
Laid out and cut stem pieces. Do this on a piece of heavy paper to make
a template. The sheet with the chart of heights and half-breadths gives
the layout of the fwd edge of the stem. Since this is also the aft edge of
the cutwater you might as well lay them both out on the paper now. The
bottom of the stem is not well marked; I laid out the outside of the
bottom based on the chart entries for station 1/2 and 1, drew in the
1/2" ply floor, and called that the bottom of the stem. This turned
out to be correct since it fit well during construction.
Cut 1/4" thick x 3/4" wide splines that I'll use to help
reinforce the butt joints on the sides and bottom. Also cut
1/4"x3/8" rabbits at all the butt joint locations.
Sanded the glassed side of Bulkhead 4. My only thought is " what
have I gotten myself into?!?" It actually was not too bad, but I'm
glad I decided to glass the bulkheads and frames before assembly as it
will be that much easier to do now. |
5 hours |
|
| 9/9 - 9/14/03 |
Continued glassing/flow coating the bulkheads and frames.
Glued up the stem and planed/sanded the edges. All of the bulkhead/frames
are complete and sanded, ready to be installed with the exception of the
fwd side of bulkhead 6. That has glass applied and will need two or three
coats for filler.
Tried some "new" tools that were suggested on the Bolger
board. Instead of little plastic squeegees, use a 4 inch
putty knife and a 8 inch drywall blade. These were much faster, easier to
use, and easier to achieve a reasonably flat surface. I did find that a
light touch was needed to avoid pulling too much epoxy away. The second
tool is a scraper - a cabinet scraper was recommended, but I've been
trying a 3/4 inch and a 2.5 inch paint scrapper. These work GREAT to
quickly knock down ridges and drips - they produces shavings of epoxy
rather than sanding dust and do it much faster than sanding ever could.
You need to be careful to avoid gouging the surface with the corner of the
tool, but otherwise they are very easy to use. These are must
have tools as far as I am concerned. |
16 hours |
 |
| |
|
|
|
| |
Go to Construction Log Page 2,
3, 4,
5, 6,
7, 8,
9 |
|
|
| |
Home |
|
|